THE STITCHING GUIDE
Make a cross-stitch pattern from a photo of your pet
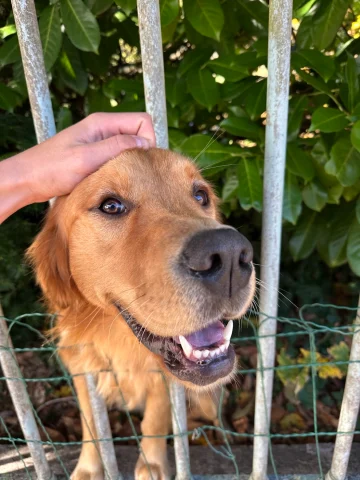
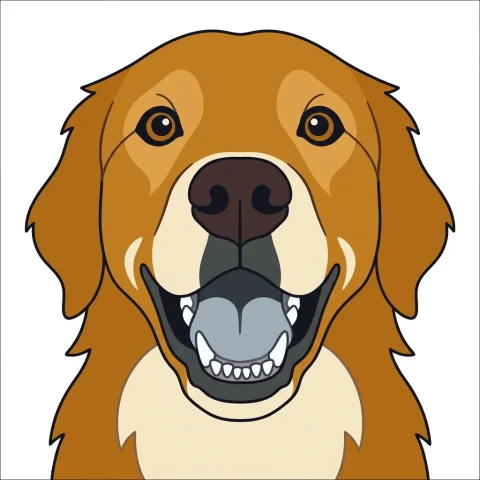
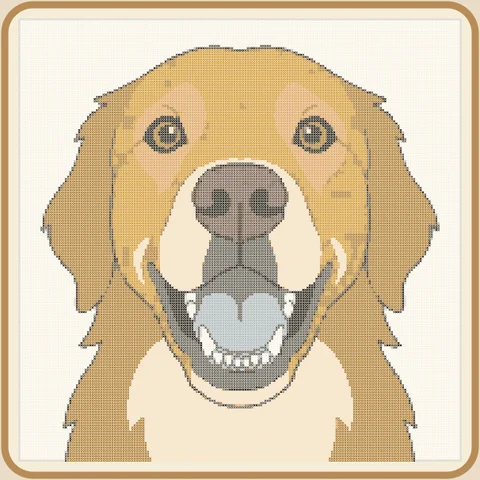
Turn a photo of your dog or cat into a chart. Use the golden retriever example to compare the original photo, the simplified artwork and the stitches.
Start with the eyes and ears
Pick a sharp photo taken near eye level. Crop around the head and shoulders, leaving a little room around both ears. If a dark ear disappears into the background in the photo, choose a brighter background or a different shot before converting.
Decide what belongs in the portrait
The garden fence and leaves in this golden retriever photo would also become stitches in a direct conversion. Start with free direct conversion if your photo already has a simple background. For a busy scene, you can use an image you’ve cropped yourself or choose the optional AI preparation. In this example the instruction was “Just my dog, facing forward, with the background removed.”
Compare two grid sizes
Preview at 64 × 64 points with up to 12 colors, then compare at 96 × 96. On 14-count Aida those squares are about 11.6 and 17.4 cm wide before leaving a margin. Choose the smaller chart if the eyes and muzzle still read clearly. Bigger charts can hold more detail and take more stitches.
Check the thread colors on the grid
Open the result in the studio and switch to Chart. Check that the eyes stand out and the outline of the face is easy to follow. Click a thread color to highlight its stitches. If two close shades split the fur into isolated stitches, try merging them and compare the embroidery preview again.